
While SPF is TXT that you have to add to verify your domain in your Microsoft tenant, DKIM is also required as a standard practice even if you don't send bulk emails.
DKIM records can be CNAME or TXT. If record is generated on server that you directly manage, then it would be a TXT record as you already have the DKIM key. (example your hosting provider)
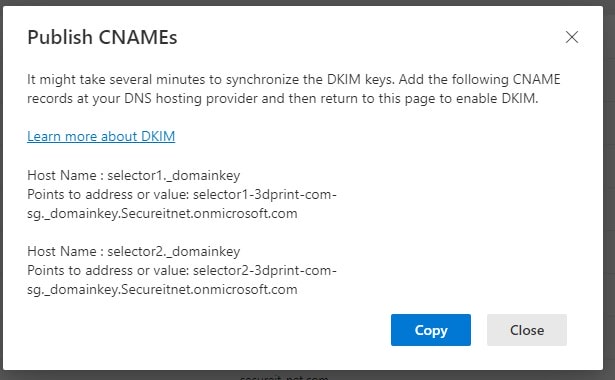
If record is on server that you don't directly manage, then you may have to set CNAME pointer to the server with the record. (example your Microsoft account)
To setup DKIM for Microsoft Office 365 or Exchange Online;
- Login to https://security.microsoft.com

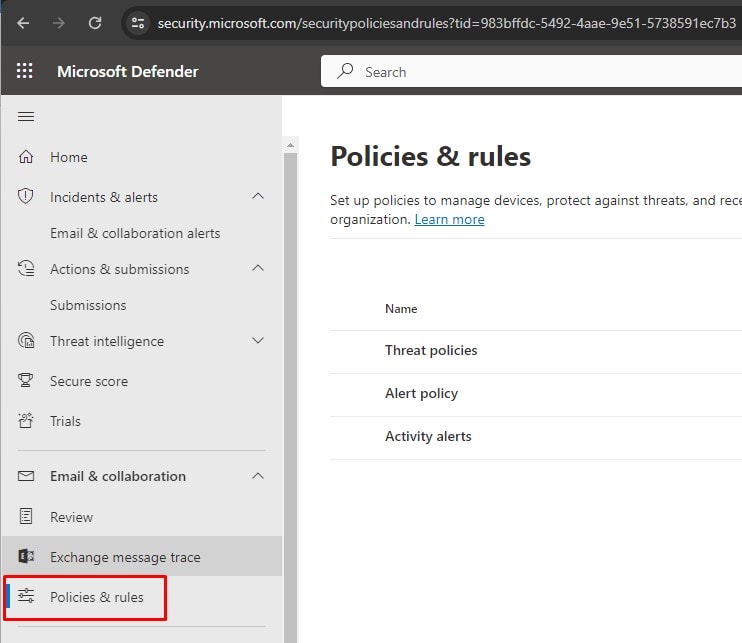
2. Select Policies and Rules
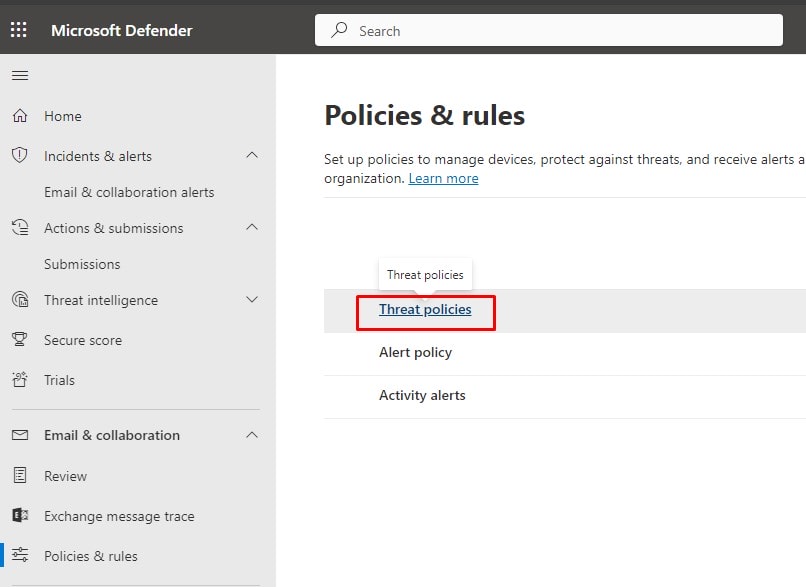
3. Click on Threat Policies
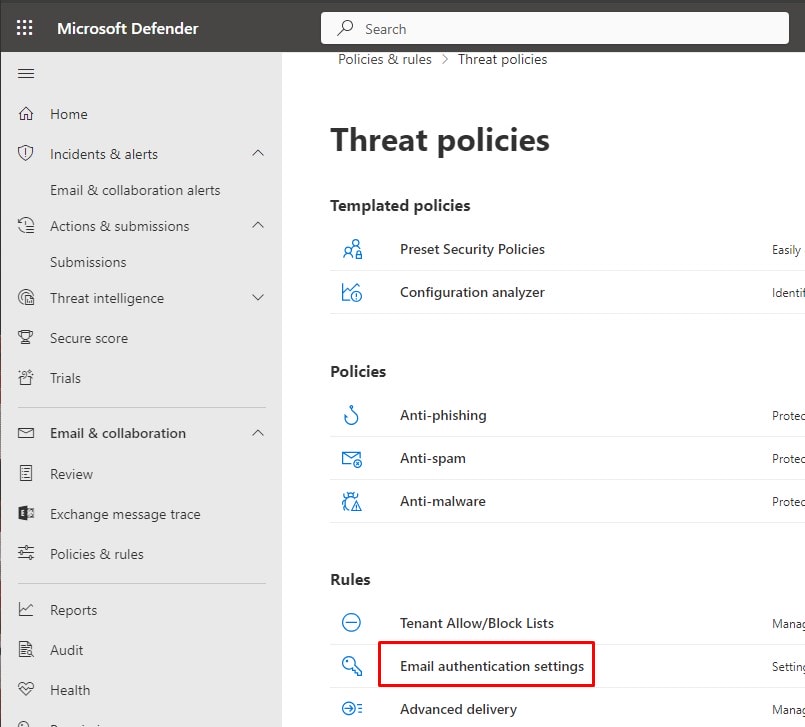
4. Scroll down and select Email authentication settings.
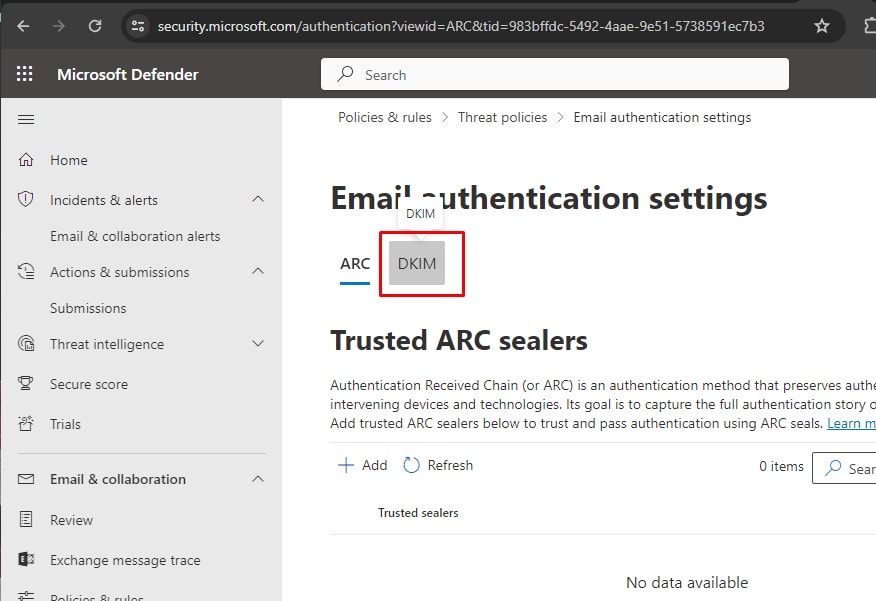
5. Click DKIM tab.
6. Double-click on your TLD domain name and click Create DKIM keys.
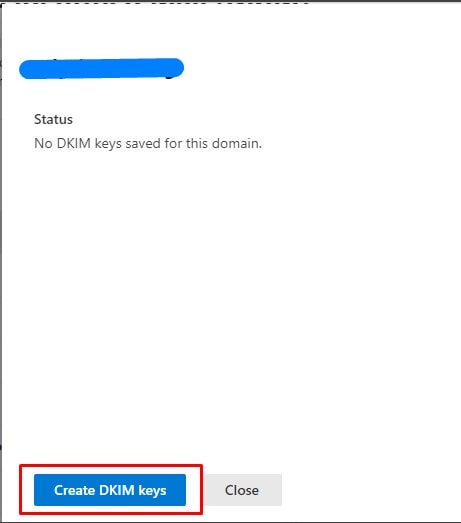
7. Copy the CNAME records required to be published on your DNS server and close the prompt.
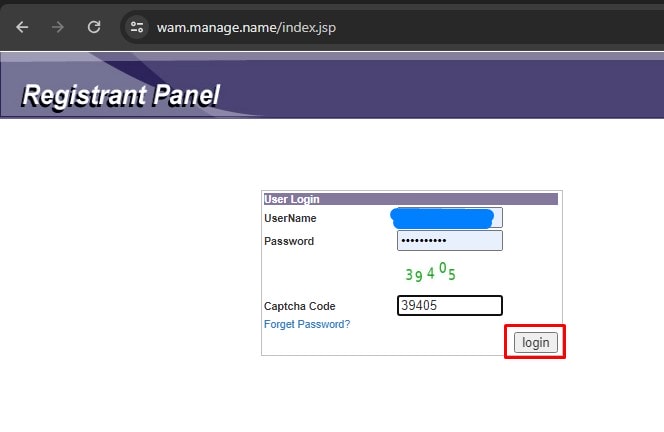
8. Login to your domain's DNS management portal. For domain registered with us, it is https://wam.manage.name
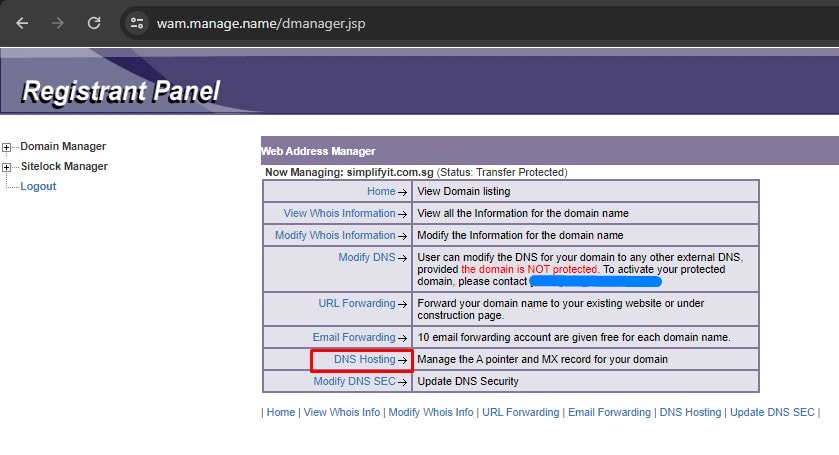
9. Select DNS hosting option.
10. Add the CNAME record by click Add new CNAME record.
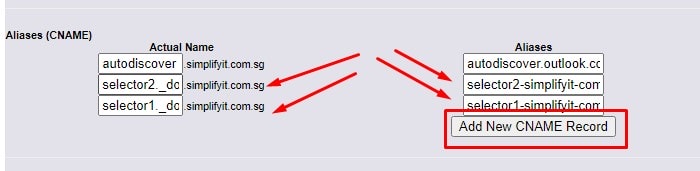
11. Wait for propagation of your DNS records (usually within an hour) and login back to Microsoft Security Center, following the steps above and enable DKIM.

If DKIM records are found, then process is completed. Otherwise, wait for a few more hours and try again.
A domain may have multiple DKIM records for different servers or service providers sending out emails on their behalf, thus you can have a Microsoft DKIM along with DKIM record for your hosting company.
If you are sending emails out from your hosting server, you may also want to setup DKIM record associated with your website host.
